DIY acoustic picture
This article might be relevant to you, if the following points apply:
- you want to get rid of too much acoustical reflections in a room
- you do not like the aesthetics of plain acoustic foam
- you do not want to spend large amounts of money for printed acoustic panels (aka acoustic images or acoustic pictures)
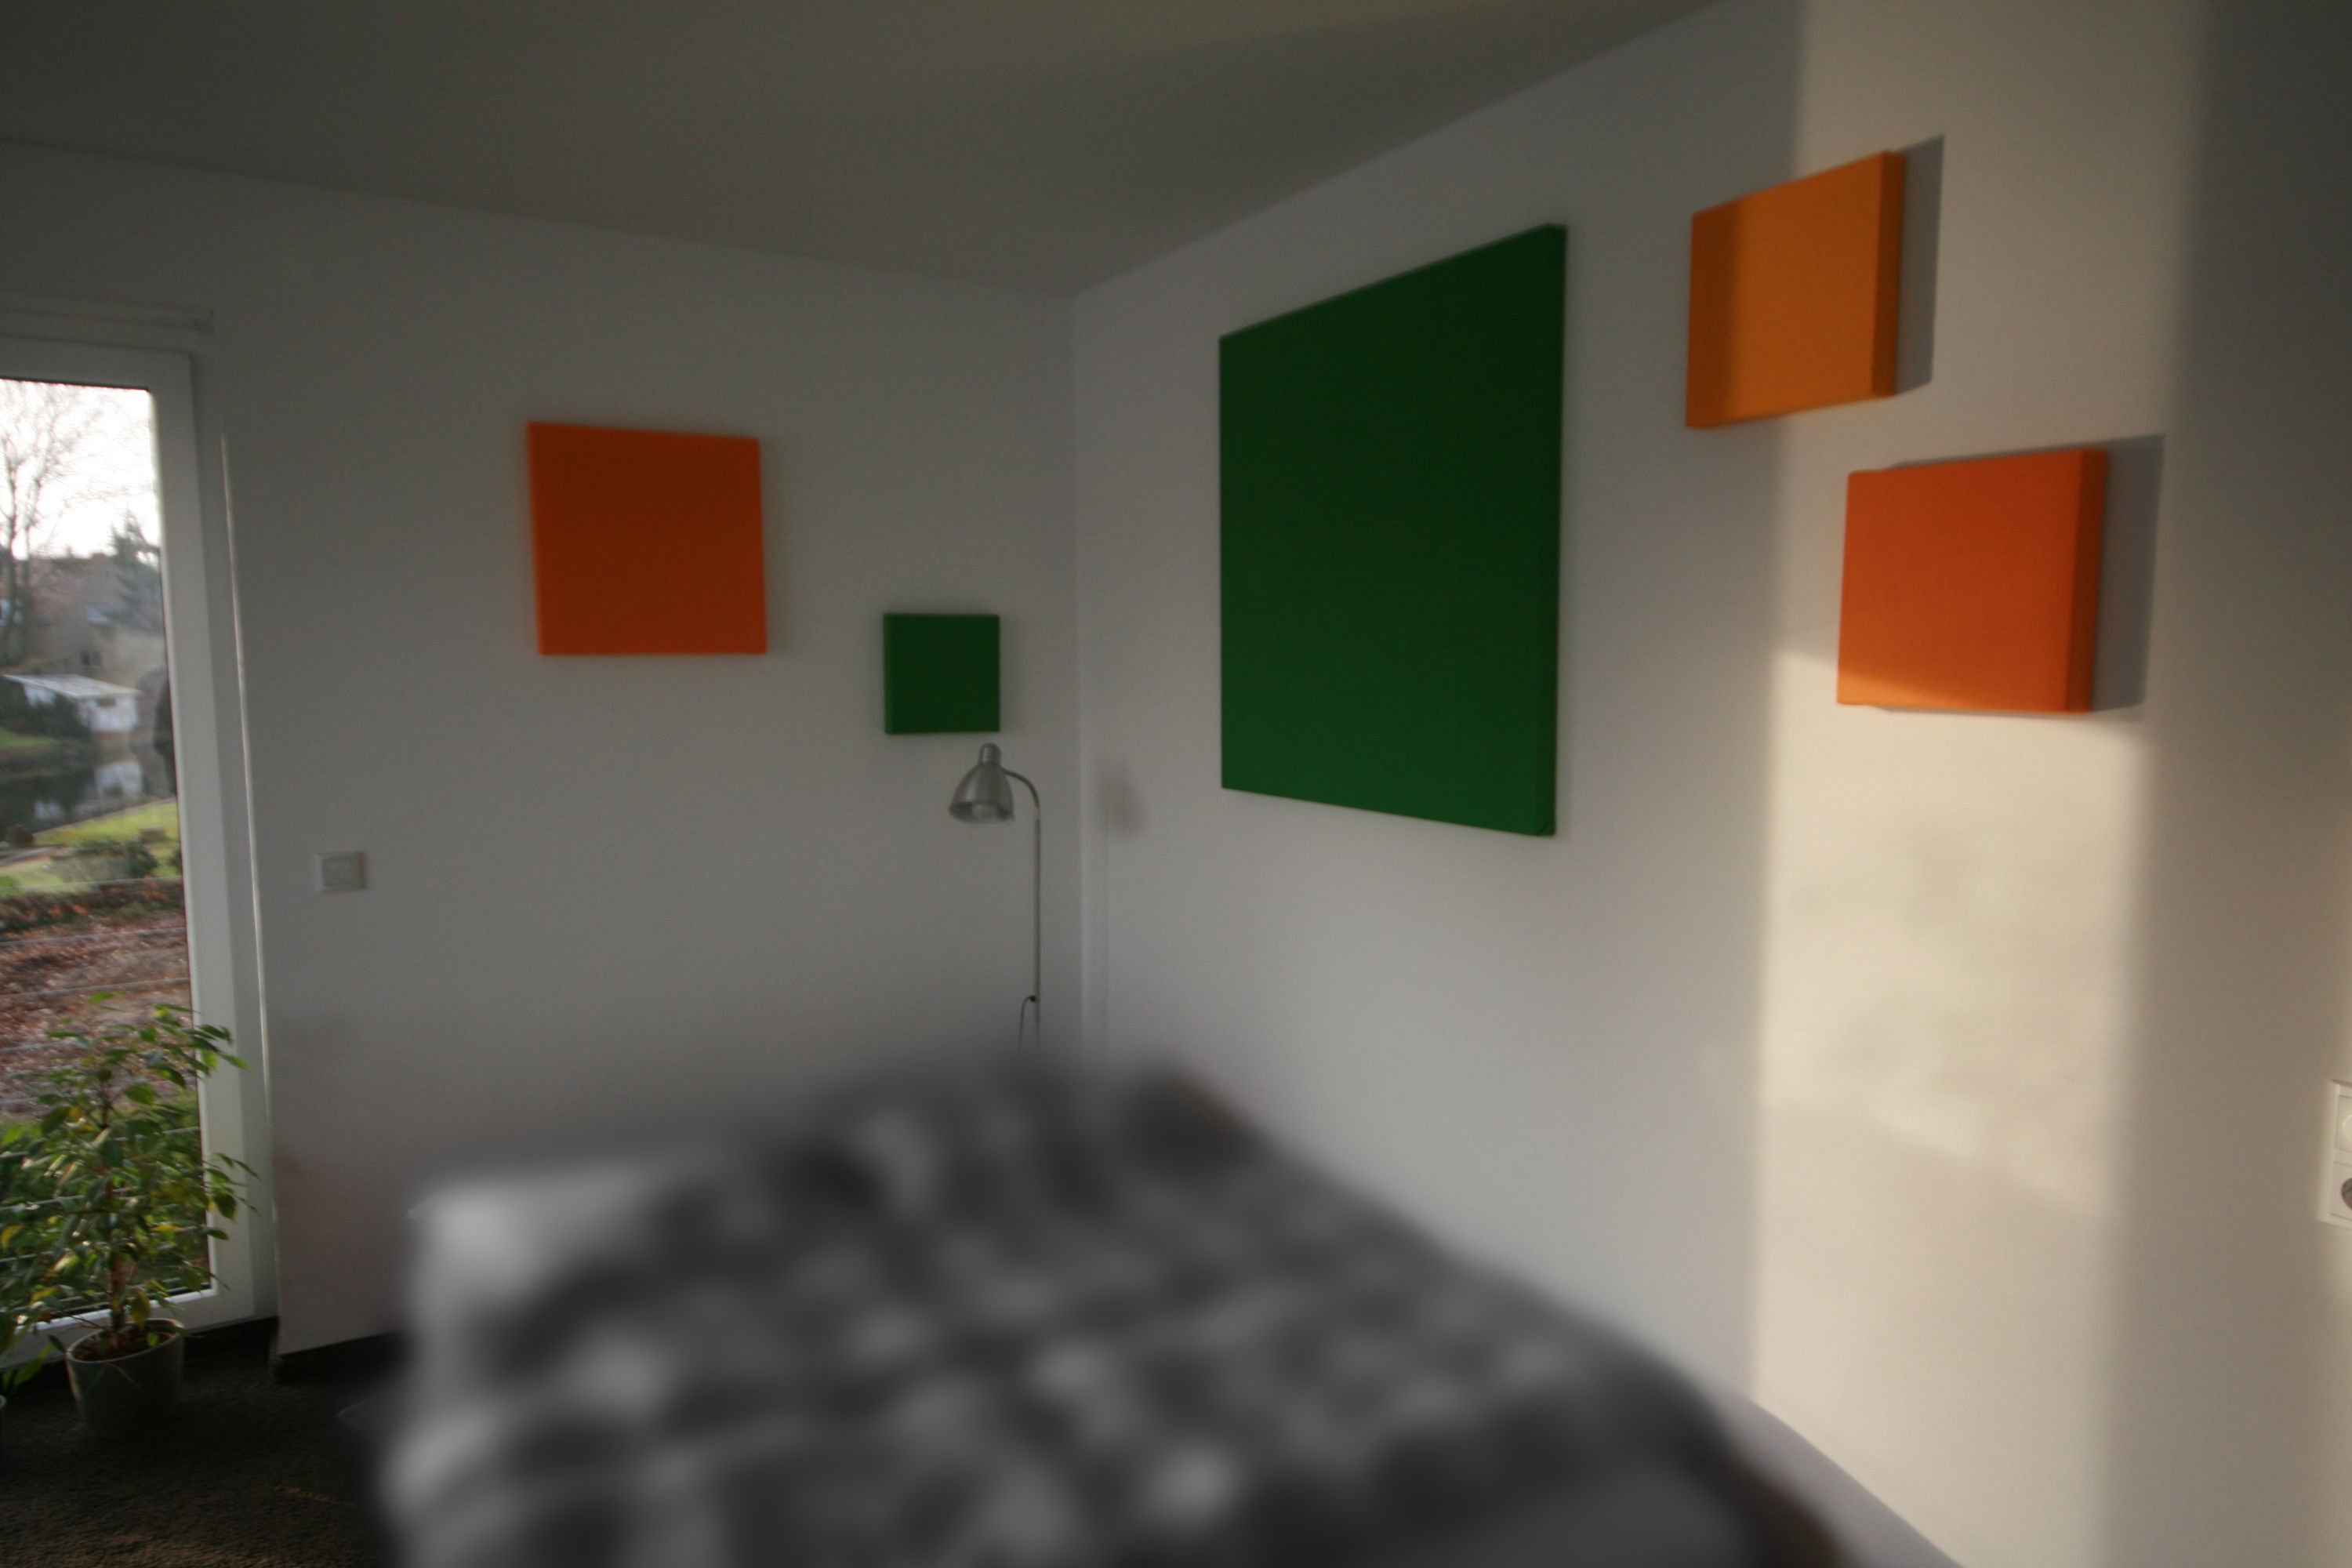
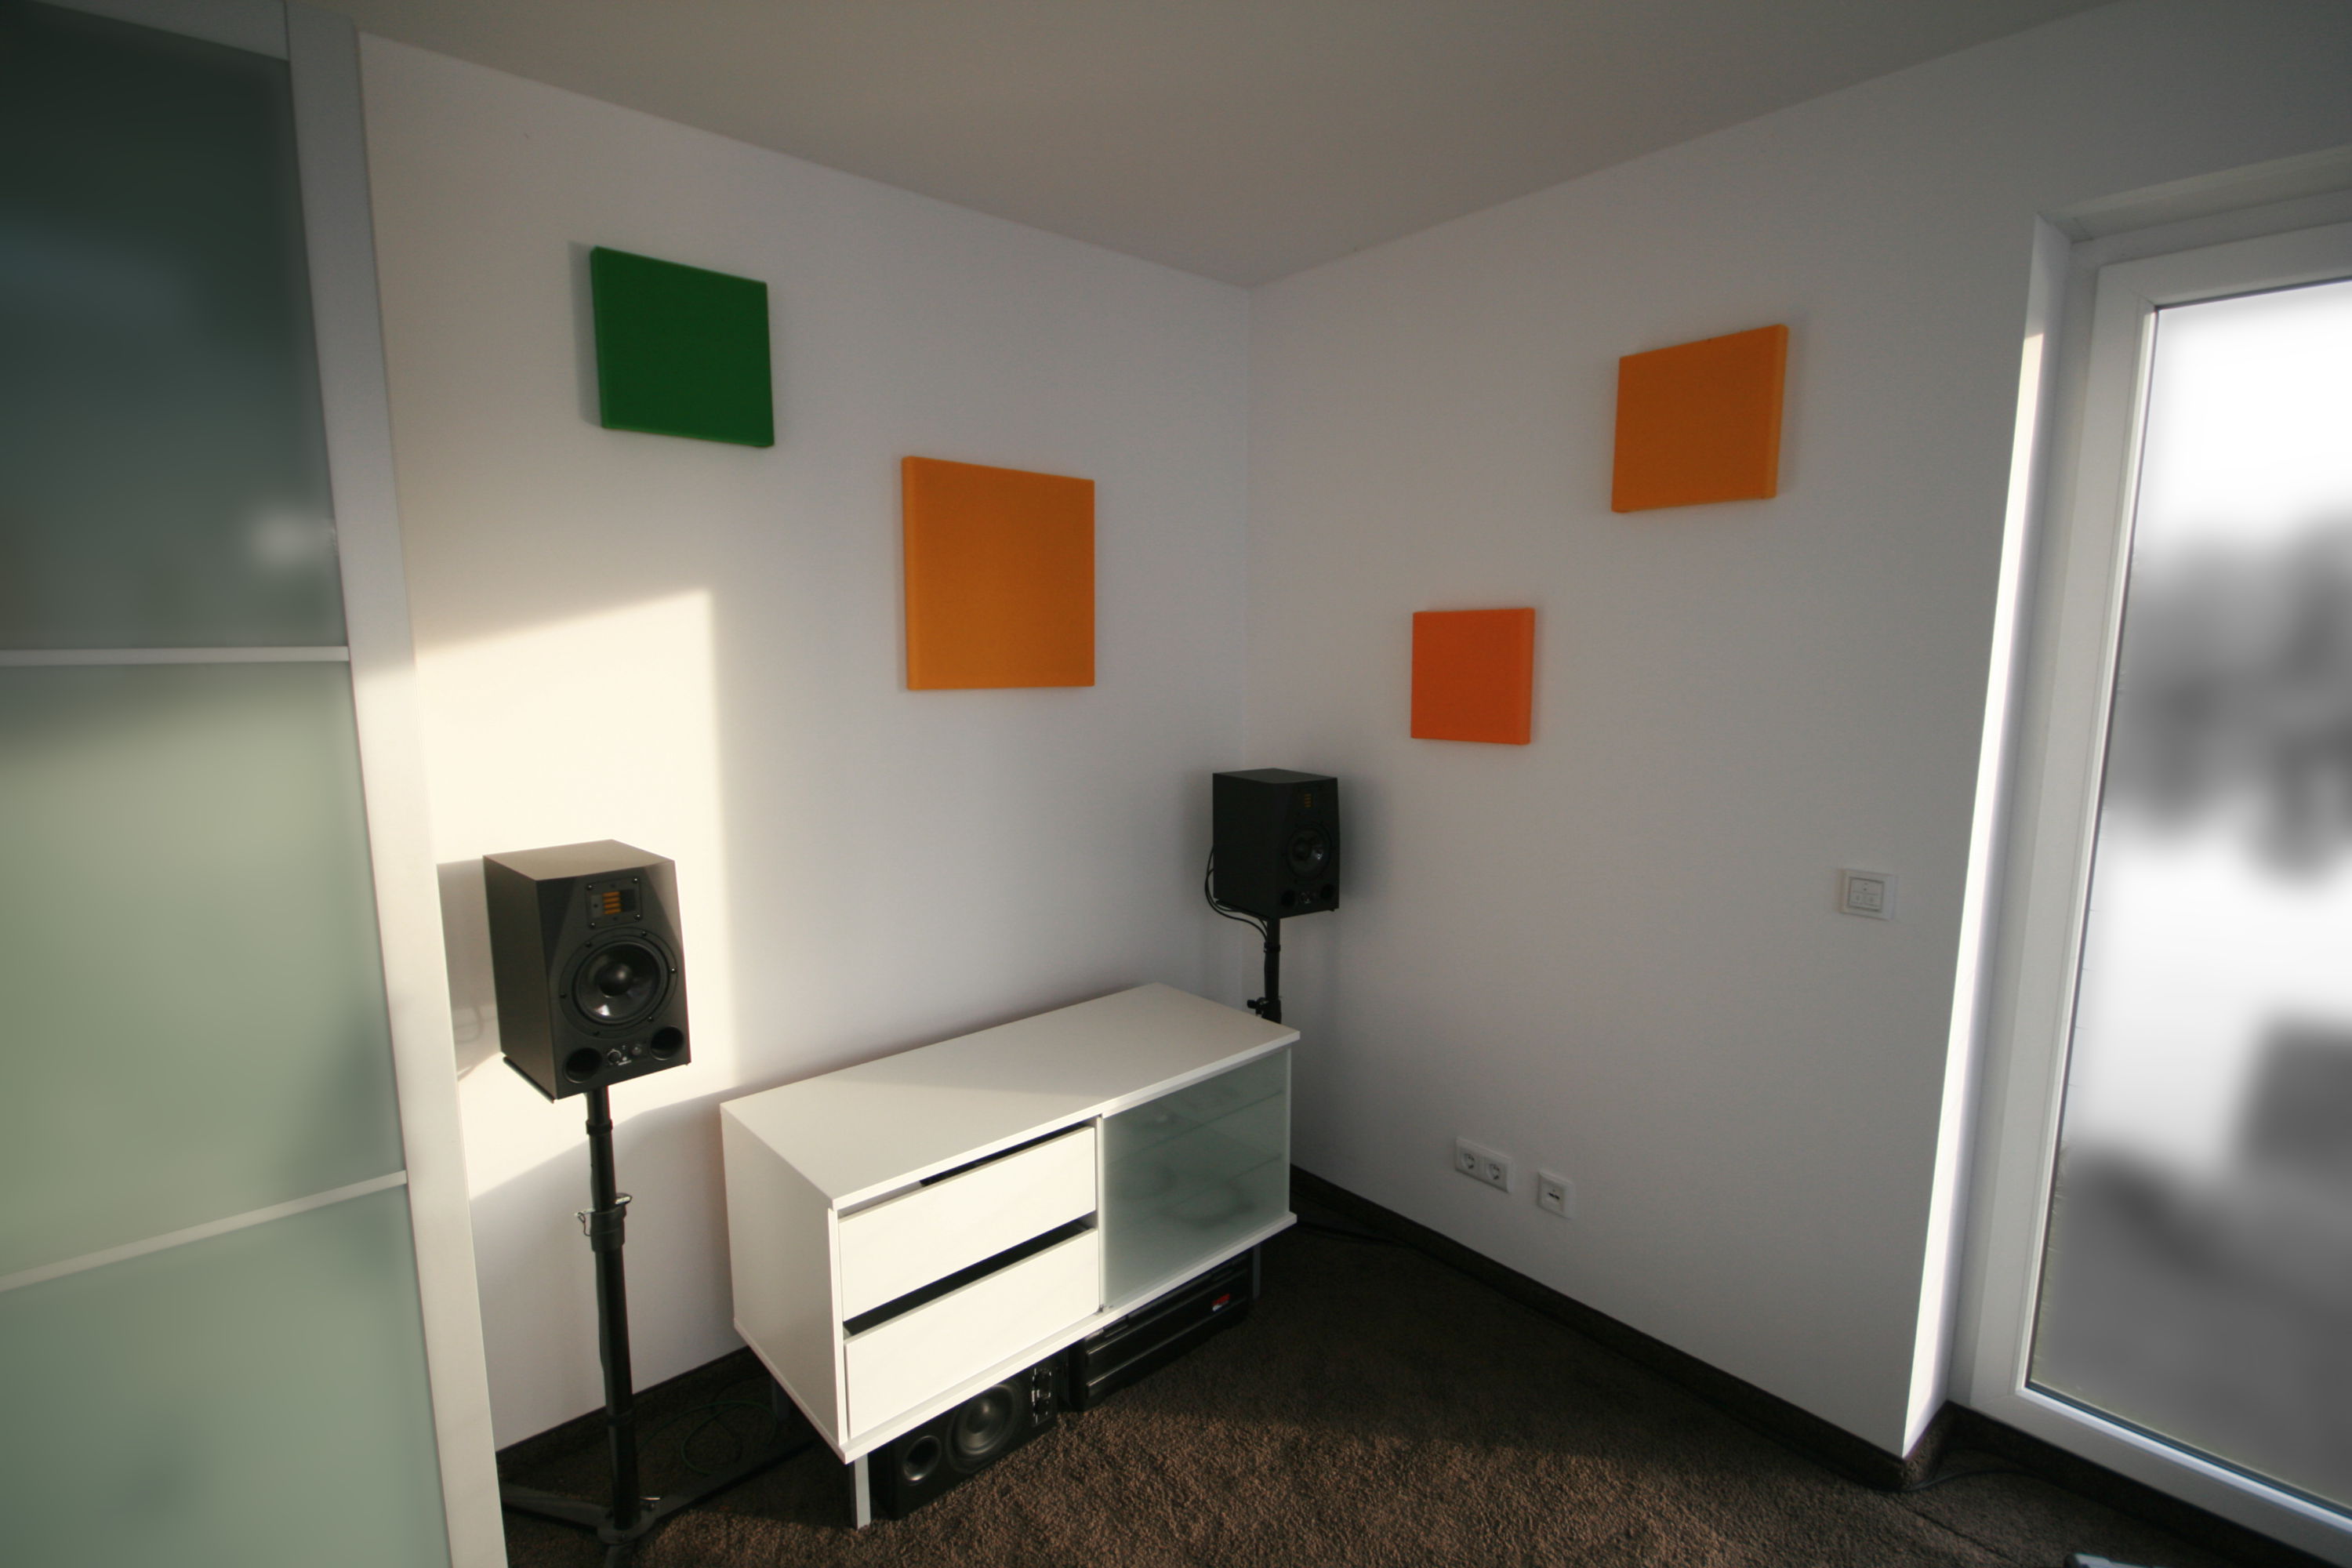
The results can look like this:
Dimensioning
I will not provide exact numbers in this tutorial since the acoustical requirements differ a lot from room to room.
However, as an example, I built the following set of pictures to enhance the sound of a room of the size 4 m x 4,6 m x 2,8 m:
- 1x 100 cm x 100 cm x 4 cm
- 2x 50 cm x 50 cm x 4 cm
- 6x 30 cm x 30 cm x 4 cm
(L x W x H)
When determining the sizes and the amount of the pictures to build, keep the following things in mind:
- the bigger the picture, the more it will absorb
- the bigger the picture, the harder to build
- personally, I wouldn't exceed 1 m²
- the bigger the picture, the lower the ratio cost/damping
Placement
When planning the positioning of your acoustic pictures, prefer the following spots:
- smooth/blank surfaces
- big surfaces
- at least one of two facing plain walls (!)
- if there is no carpet, this also applies to the floor and the ceiling
- corners
- also between walls and the ceiling
- near sound sources
- speakers, instruments, …
Materials
Insulation
To choose the adequate sound insulation might be the toughest task. Decide whether you want to grab some mineral wool from the hardware store or if you want to use acoustic foam that is light, easily processible and the best material for the job.
For best damping, it is advisable to use the thickest insulation that fits into the frames you choose. Obviously, you will need enough insulation to fill the inner bounds of every frame. Don't just add the areas you will need - take a sheet of paper and draw how you are going to cut the insulation later on, since not having any loss is almost impossible due to geometric constraints.
When you are going to use acoustic foam, just check out what fits best your frequency damping requirements and your budget.
If you choose to use mineral wool (think twice and don't), you should make sure to close the back of the pictures you build as well, You definitely don't want the itchy stuff to fly around in your living room. This step won't be included in this tutorial (as I haven't tried it).
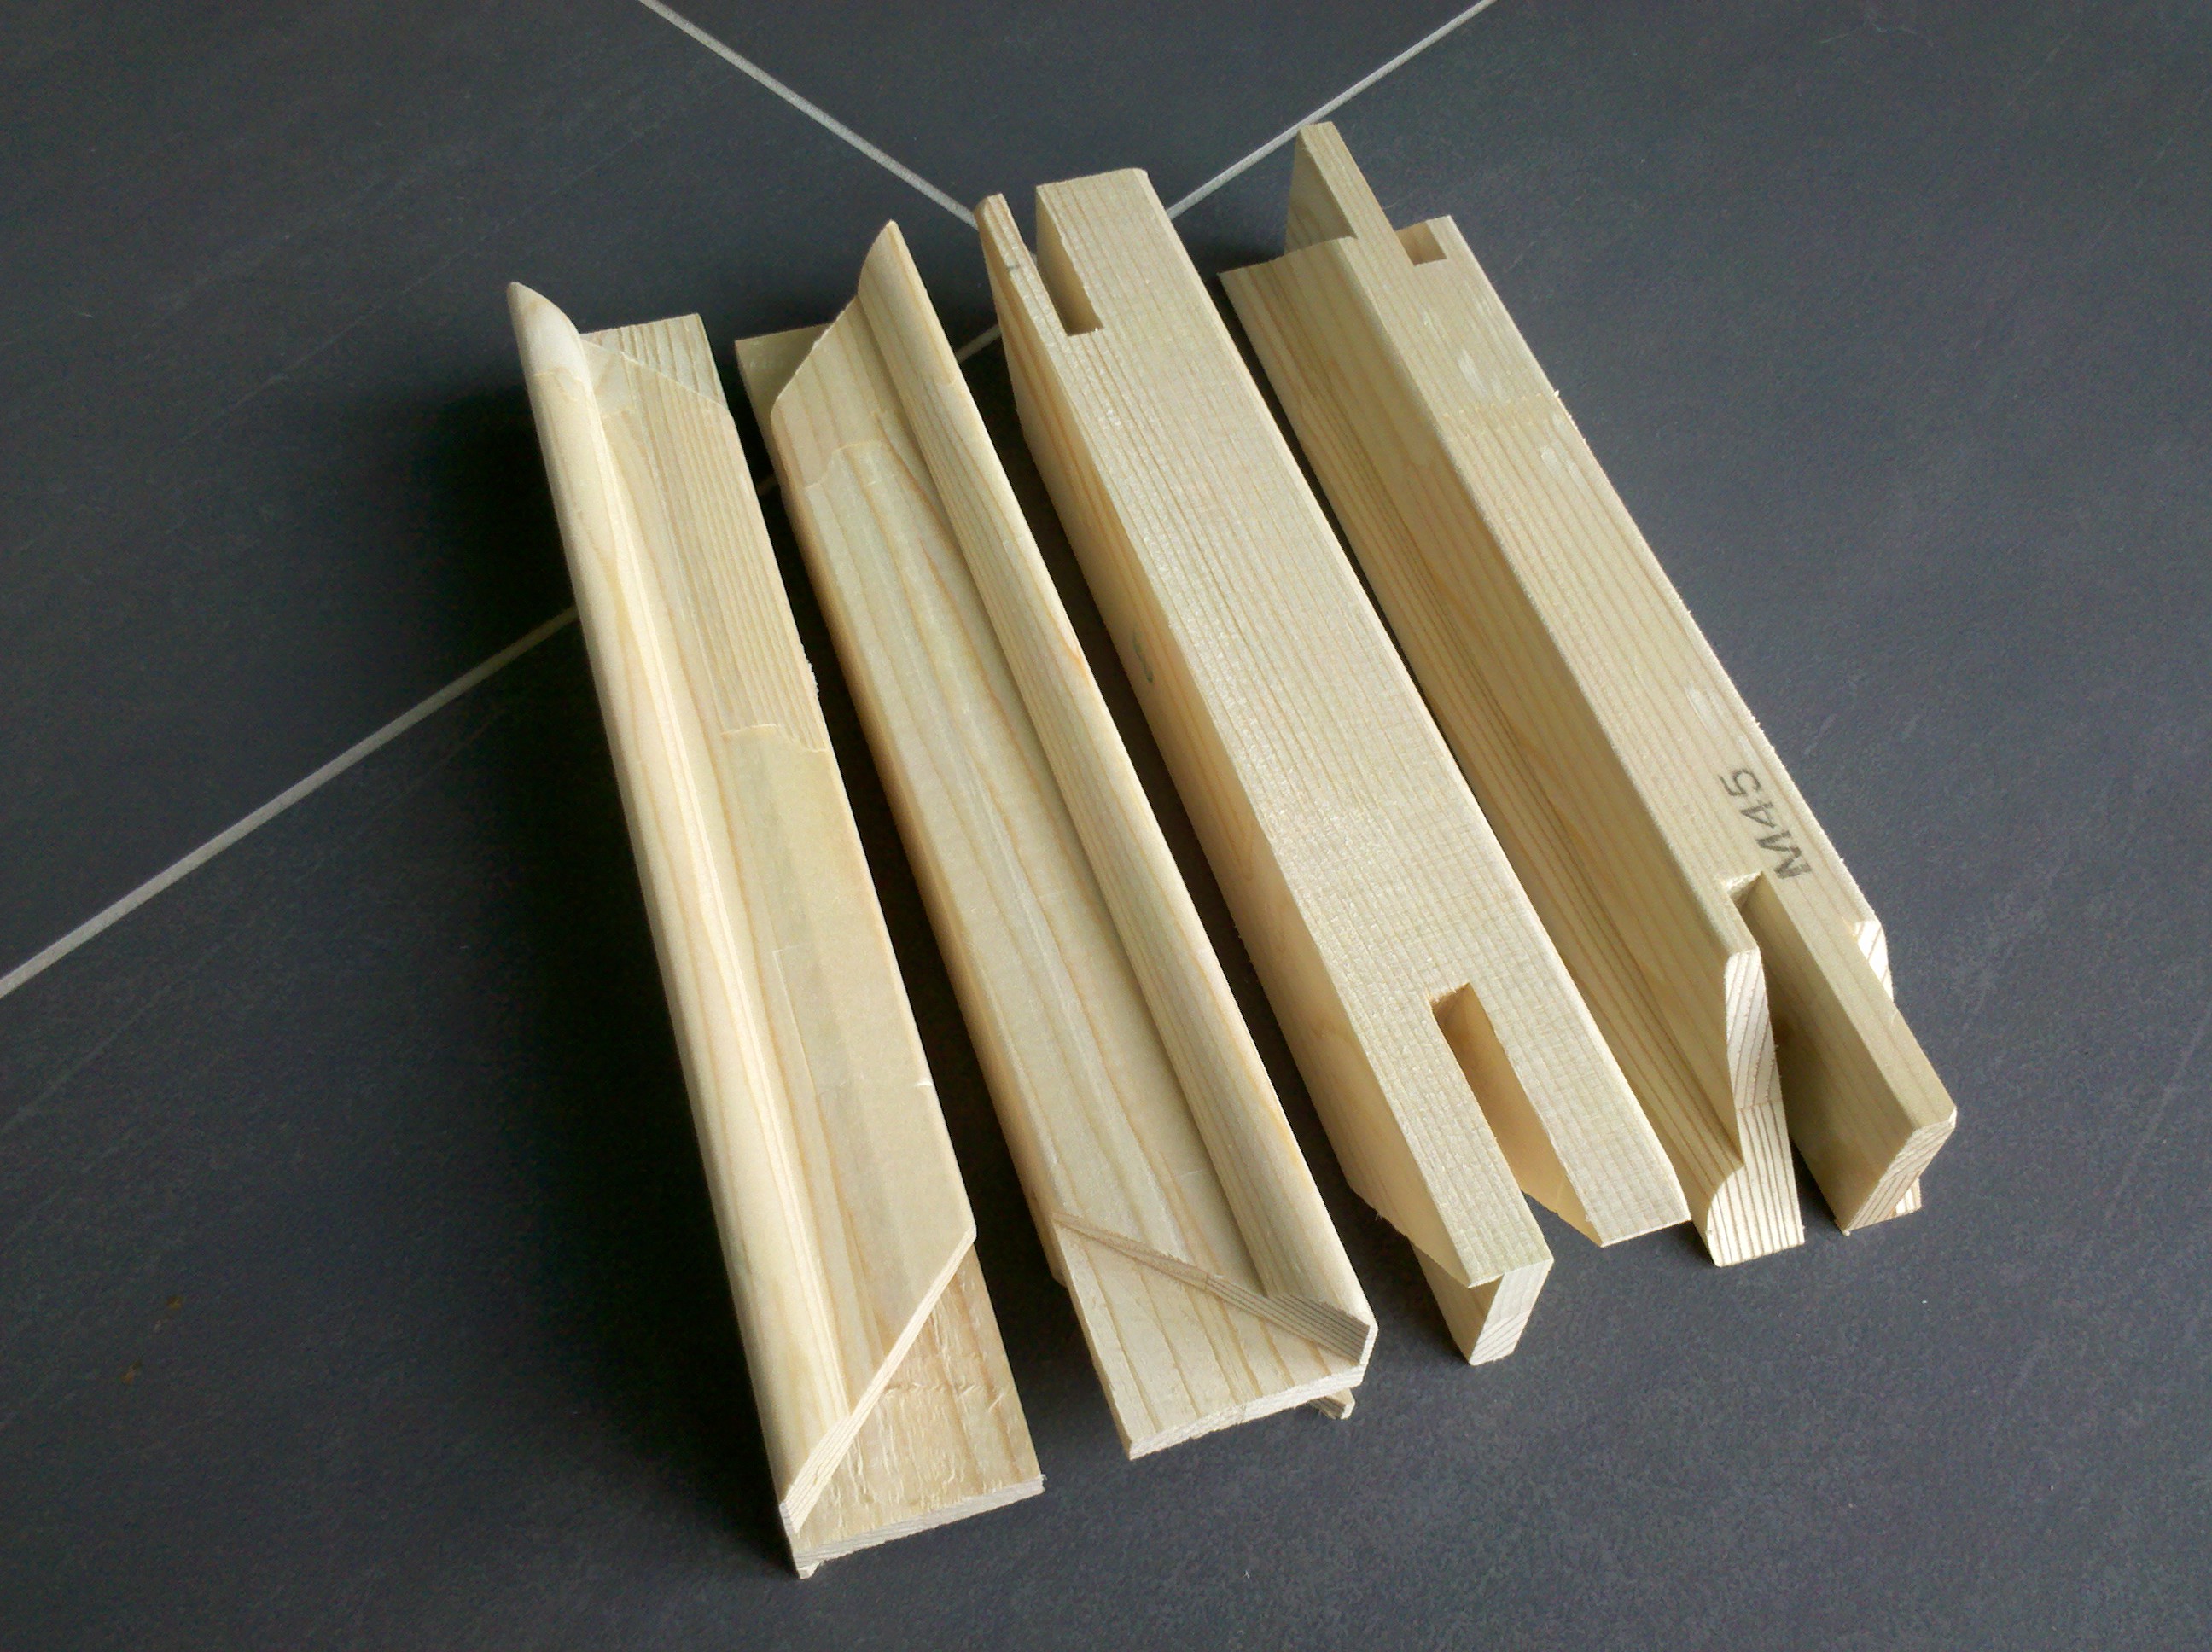
Frames
Cover
Basically, you can use every fabric that is permeable for sound waves. So: the thinner, the better but make sure it is thick enough to hide the insulation. A good choice might be a thin, opaque molleton.
Don't forget that the covers must reach the back of the ledgers, so for every dimension of the fabric, the following amount of fabric will be required at minimum:
<overall length of edge> + 2 * <tallness of ledger> + 2 * <width of ledger>.
Again: draft your cut-outs to make sure you do not end up with too few fabric.
Toppings
Feel free to add a further cover for the back side (fabric or thin compressed wood), sewing work for the front cover or spacers between the wall and the picture for a lighter look.
Tools
- hammer
- nails
- box cutter
- (tape/folding/…) rule
- electric iron
- staple gun
- for pictures 1 m² and above: fishing line
Putting it all together
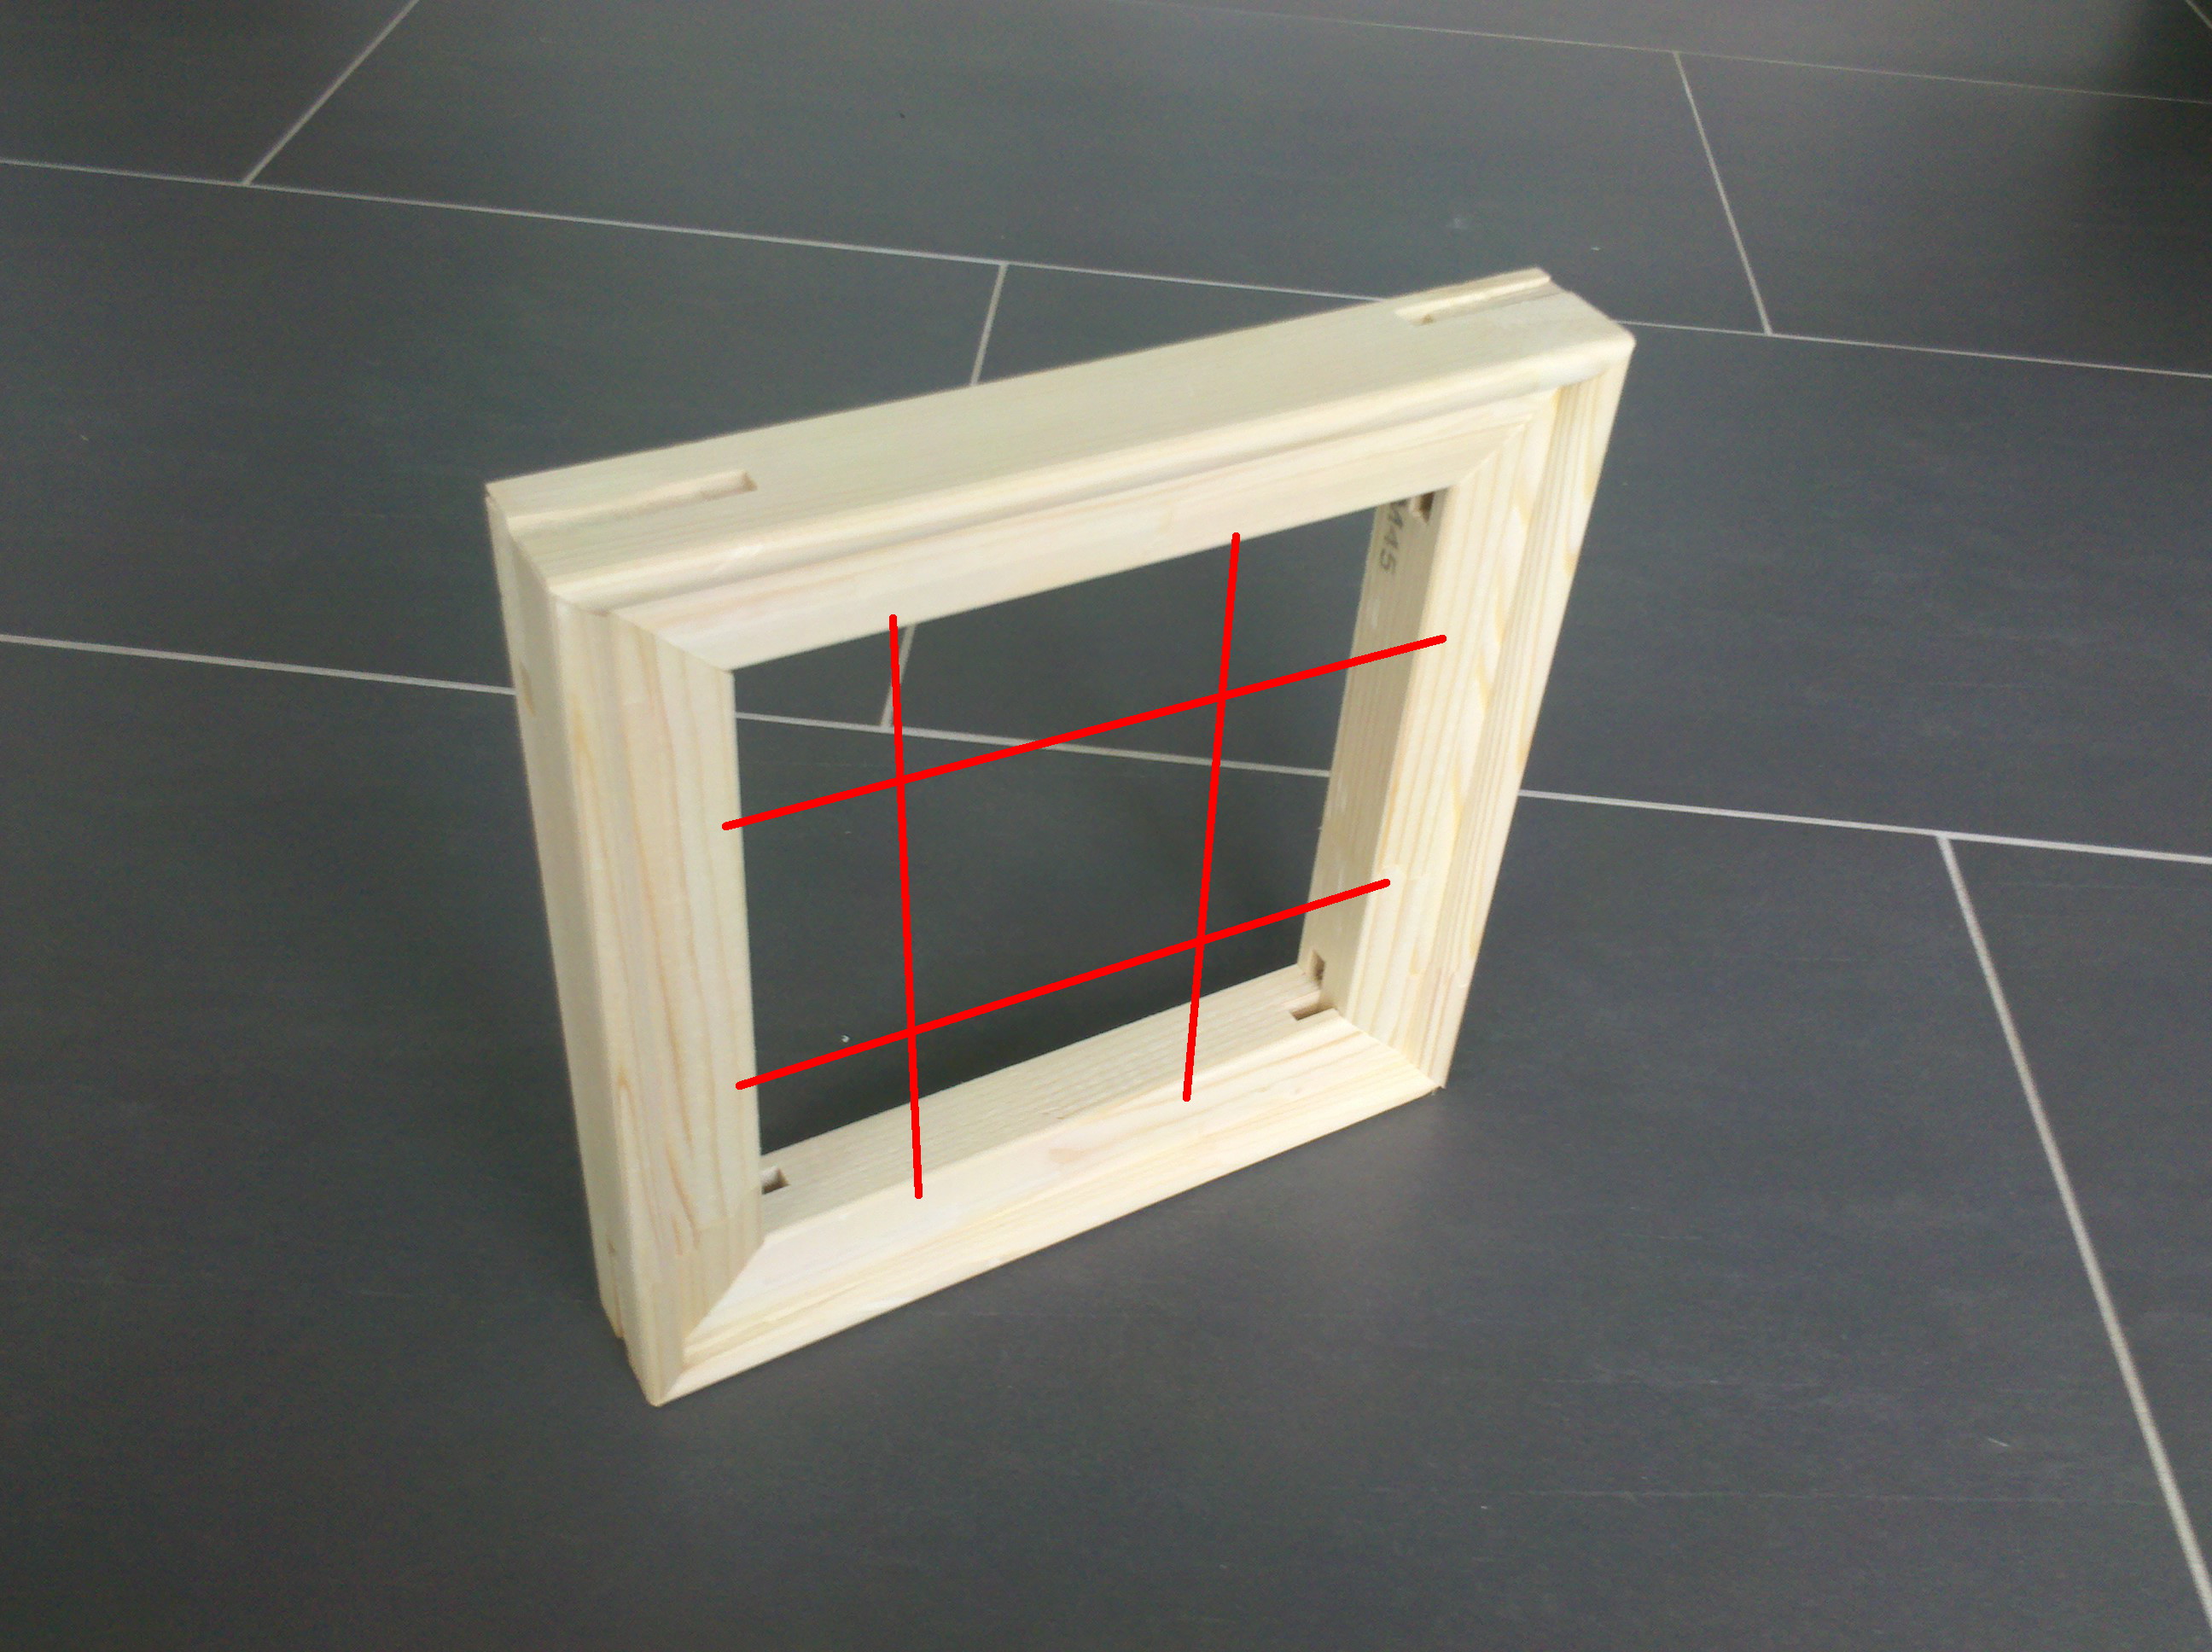
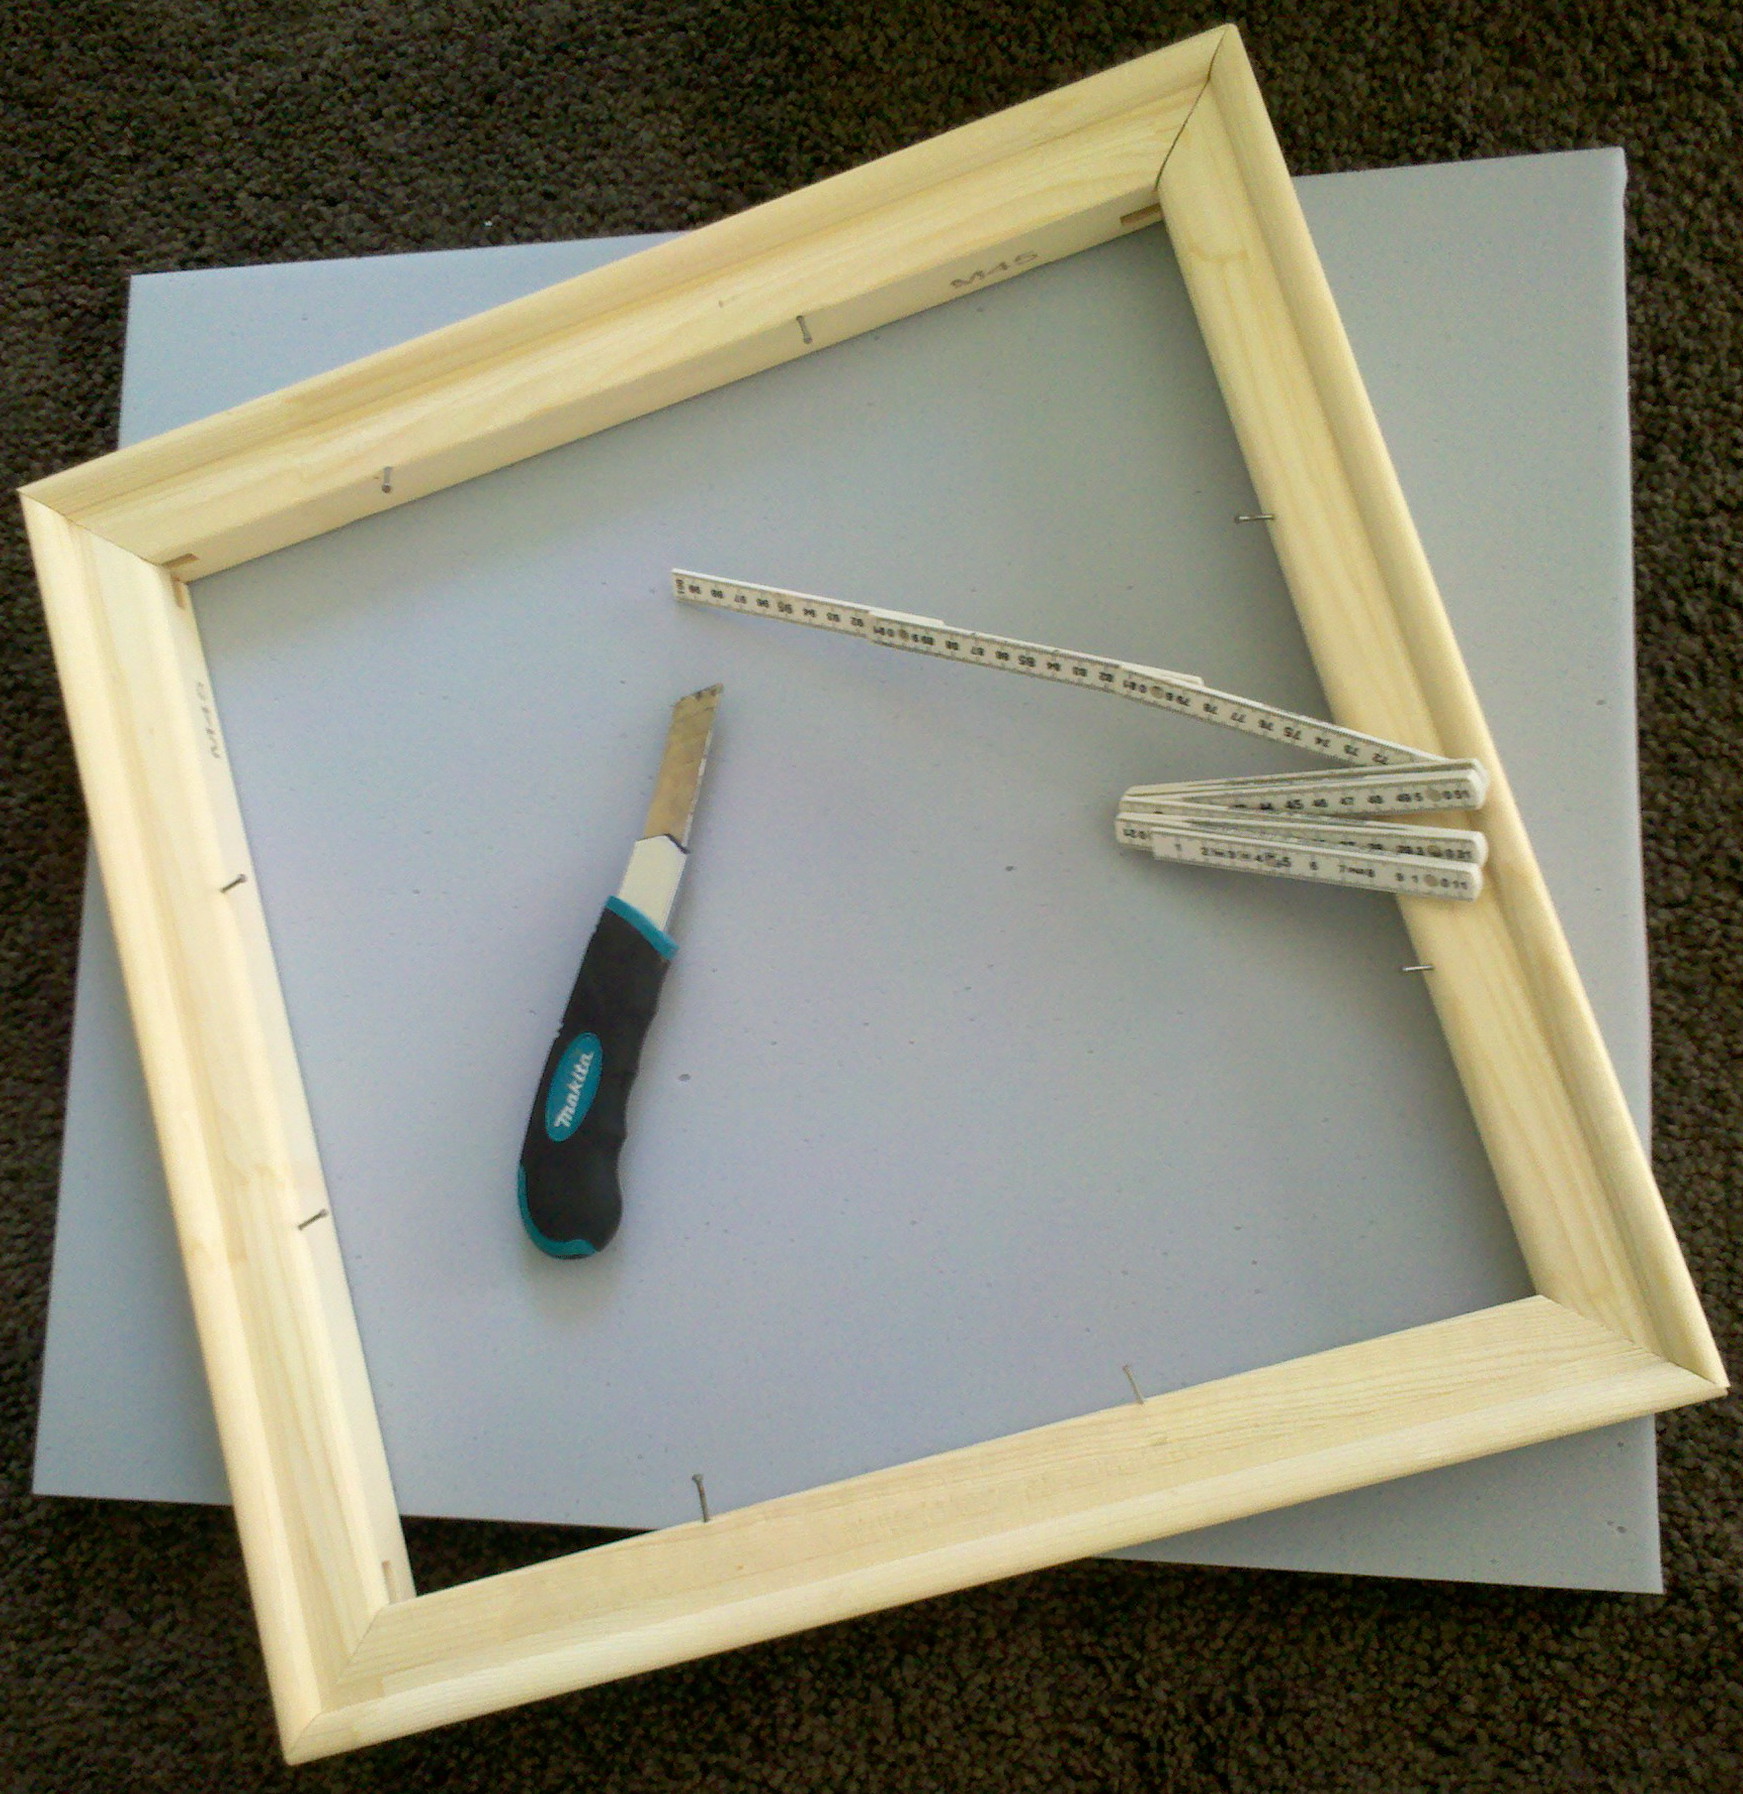
Frames
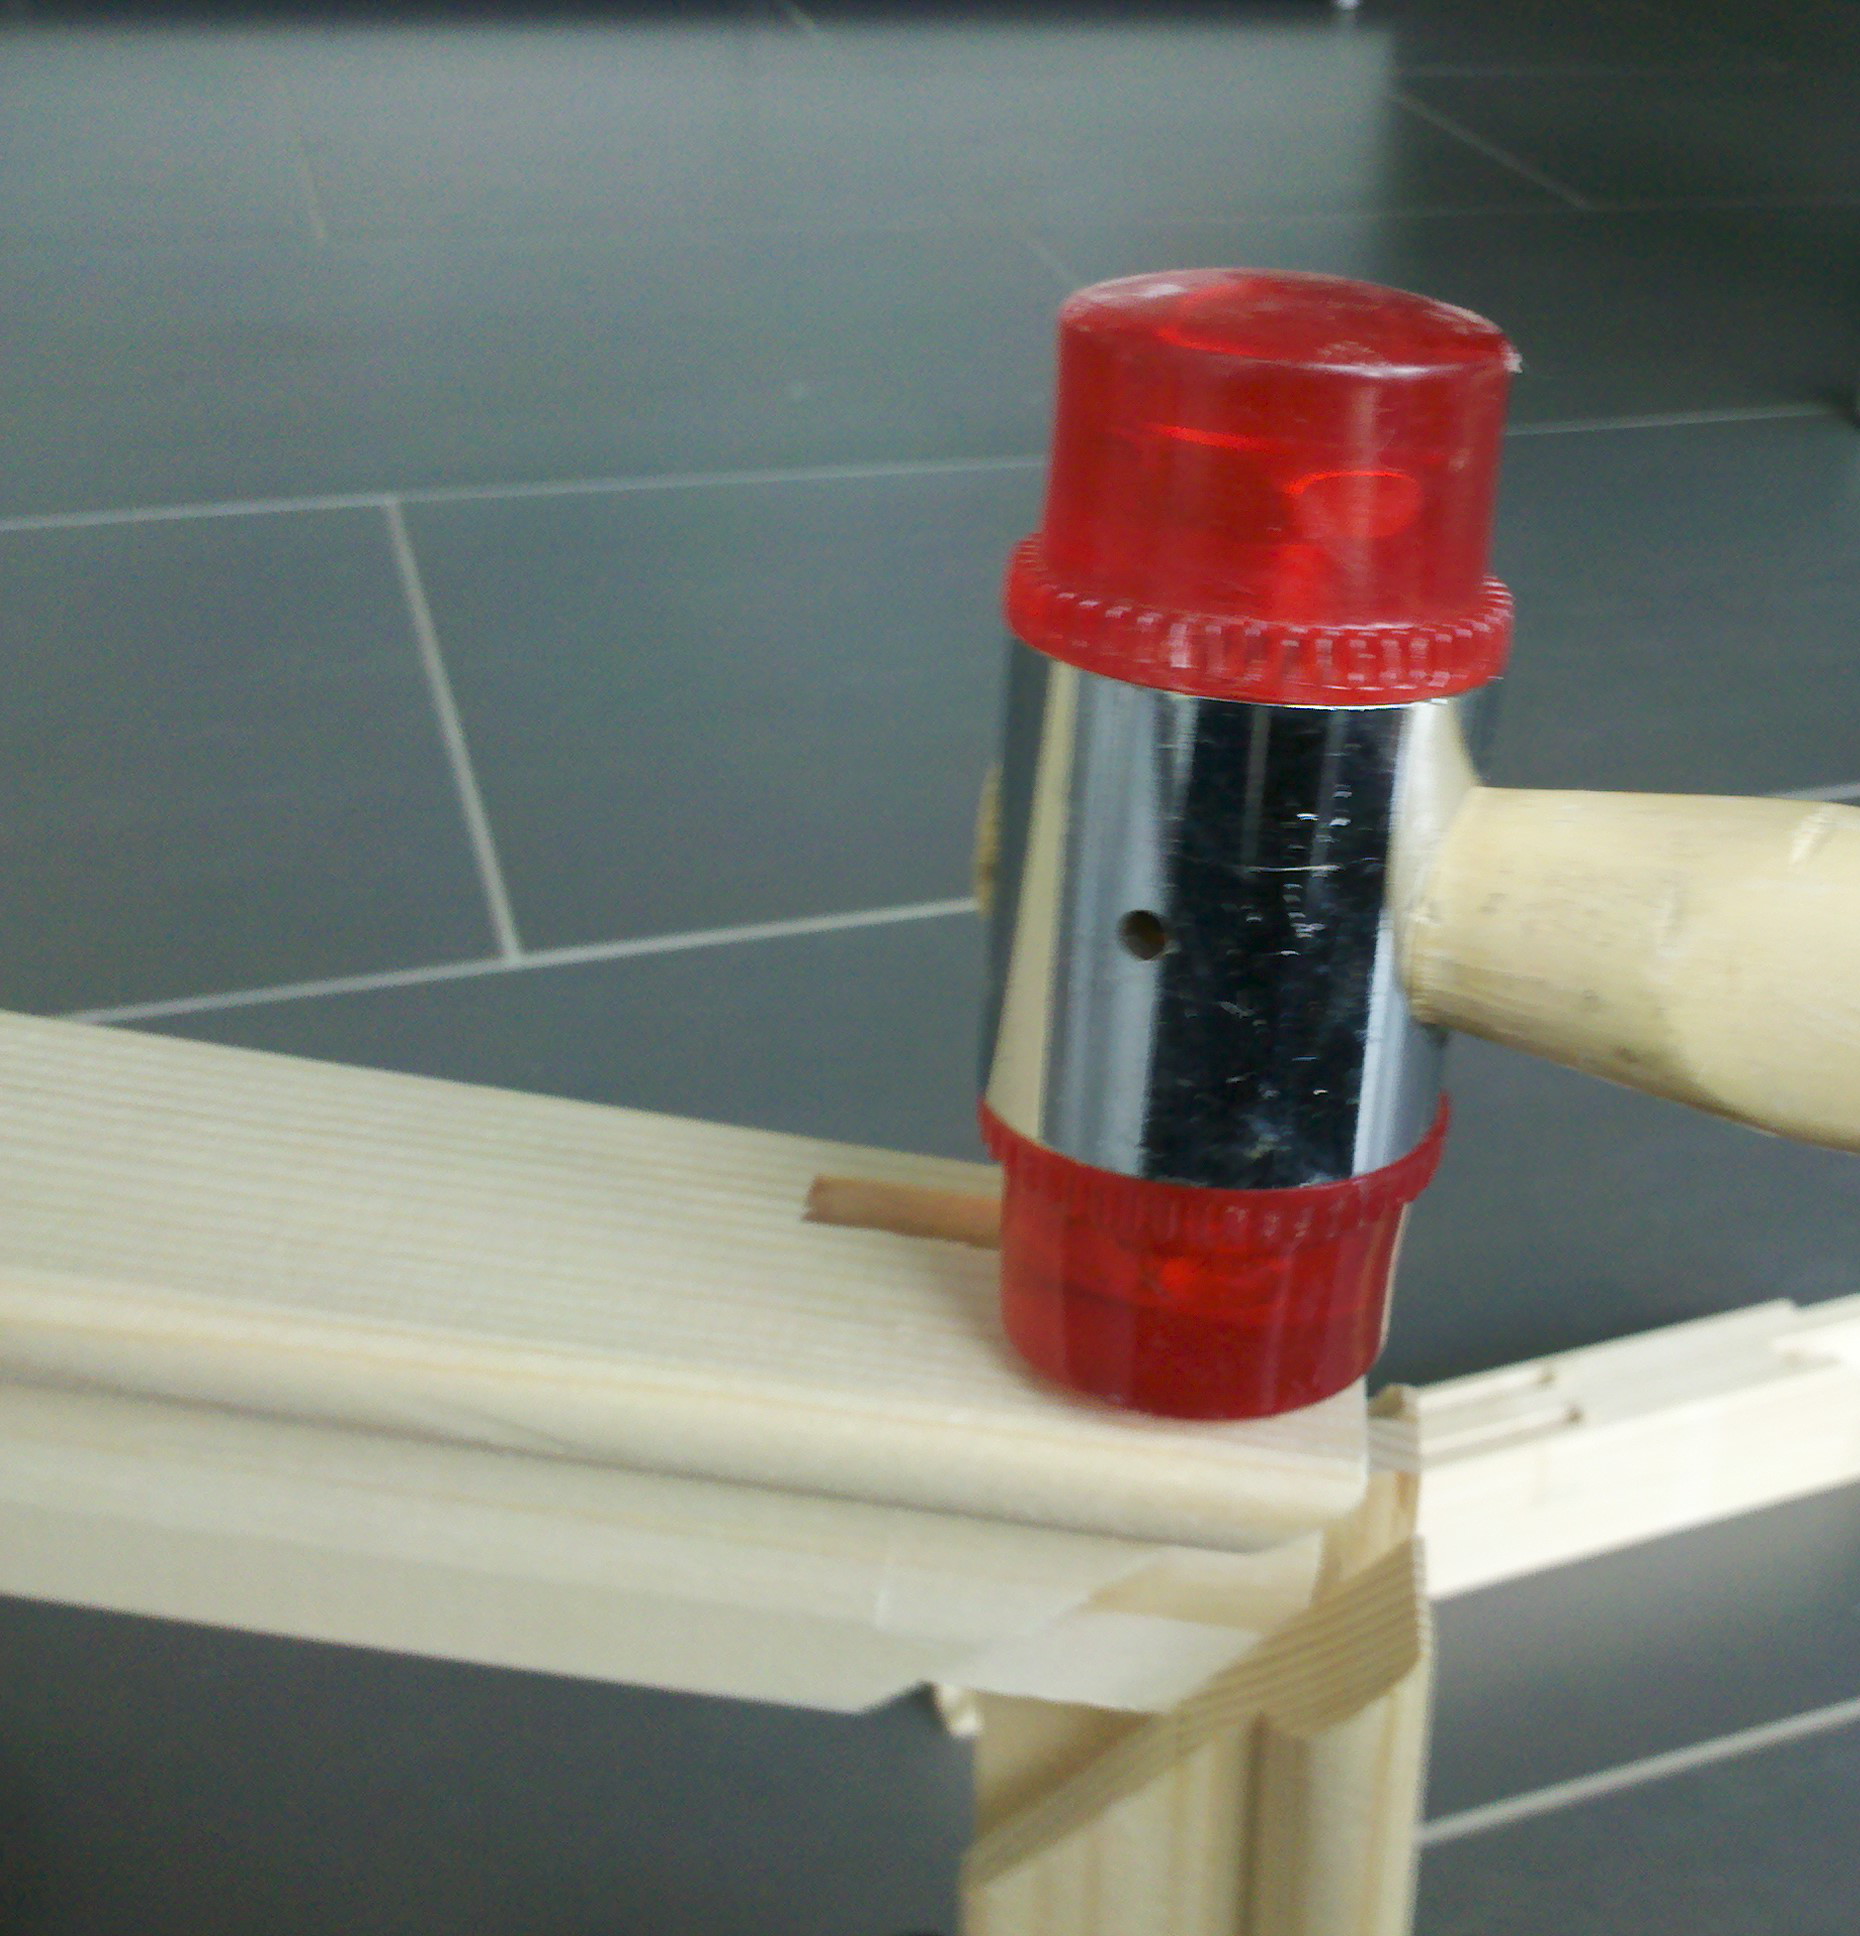
I used a plastic hammer to avoid damaging the wood (figure 2). Alternatively, you can put some wood between a regular hammer and the frames.
For well-manufactured ledgers, you won't need any glue, screws or nails.
Make sure the frames end up rectangular.

Cut the insulation
Cover your frames
Cut your fabric according to your frames (remember the formula in section 'Cover') and iron it.
- Spread the fabric front-side down and uncurly on some surface that is large enough
- Put the frame on top (front-side down)
- Center the frame on the fabric (vertically and horizontally)
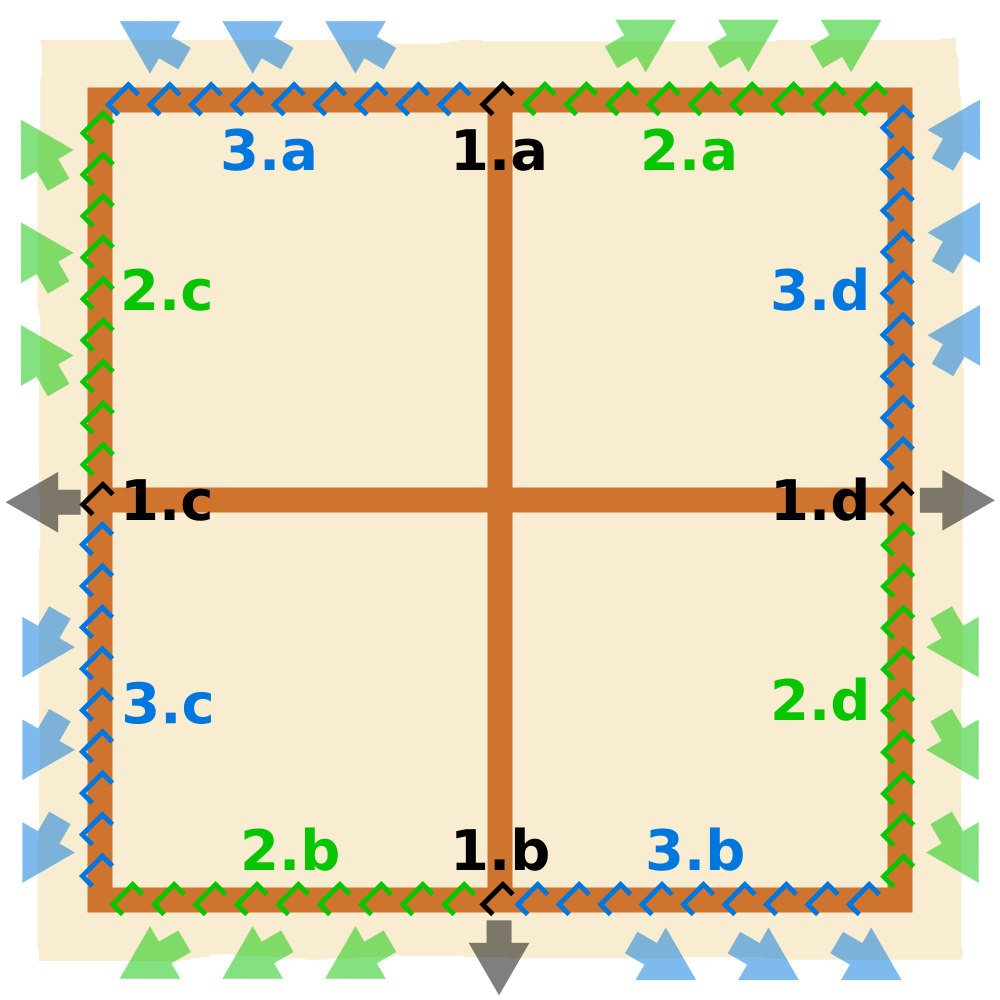
Staple the fabric to the frame according to figure 5
- Steps 1.x: pull but not too hard, otherwise you may warp your frame
- Steps 2.x and 3.x: pull diagonally away from the center to keep
the cover even
- start in the middle of a ledger and staple towards the corner
- do not staple the corners yet
- Twofold the fabric at the corners and staple it to the frame
- Do not tension the cover with the splines (if you have such) until you really need to (read: when your cover gets wavy)
Hang it!
Et voila: put the insulation into the frame, hang it to the wall and enjoy the new acoustic experience! :)