This is actually nothing special - I'll just present a set of pictures to show how to flexibly mount damping material.
This way, the damping material keeps easily exchangeable and can be mounted to another spot (e.g. if the furniture is being rearranged).
First, get some adequate acoustic panels, depending on the monetary resources and the frequencies to damp.
Cut them into a reasonable sized tiles.
Don't go for too large tiles - they maybe fold under their own weight.
The ones one the pictures below are 50 cm x 50 cm.
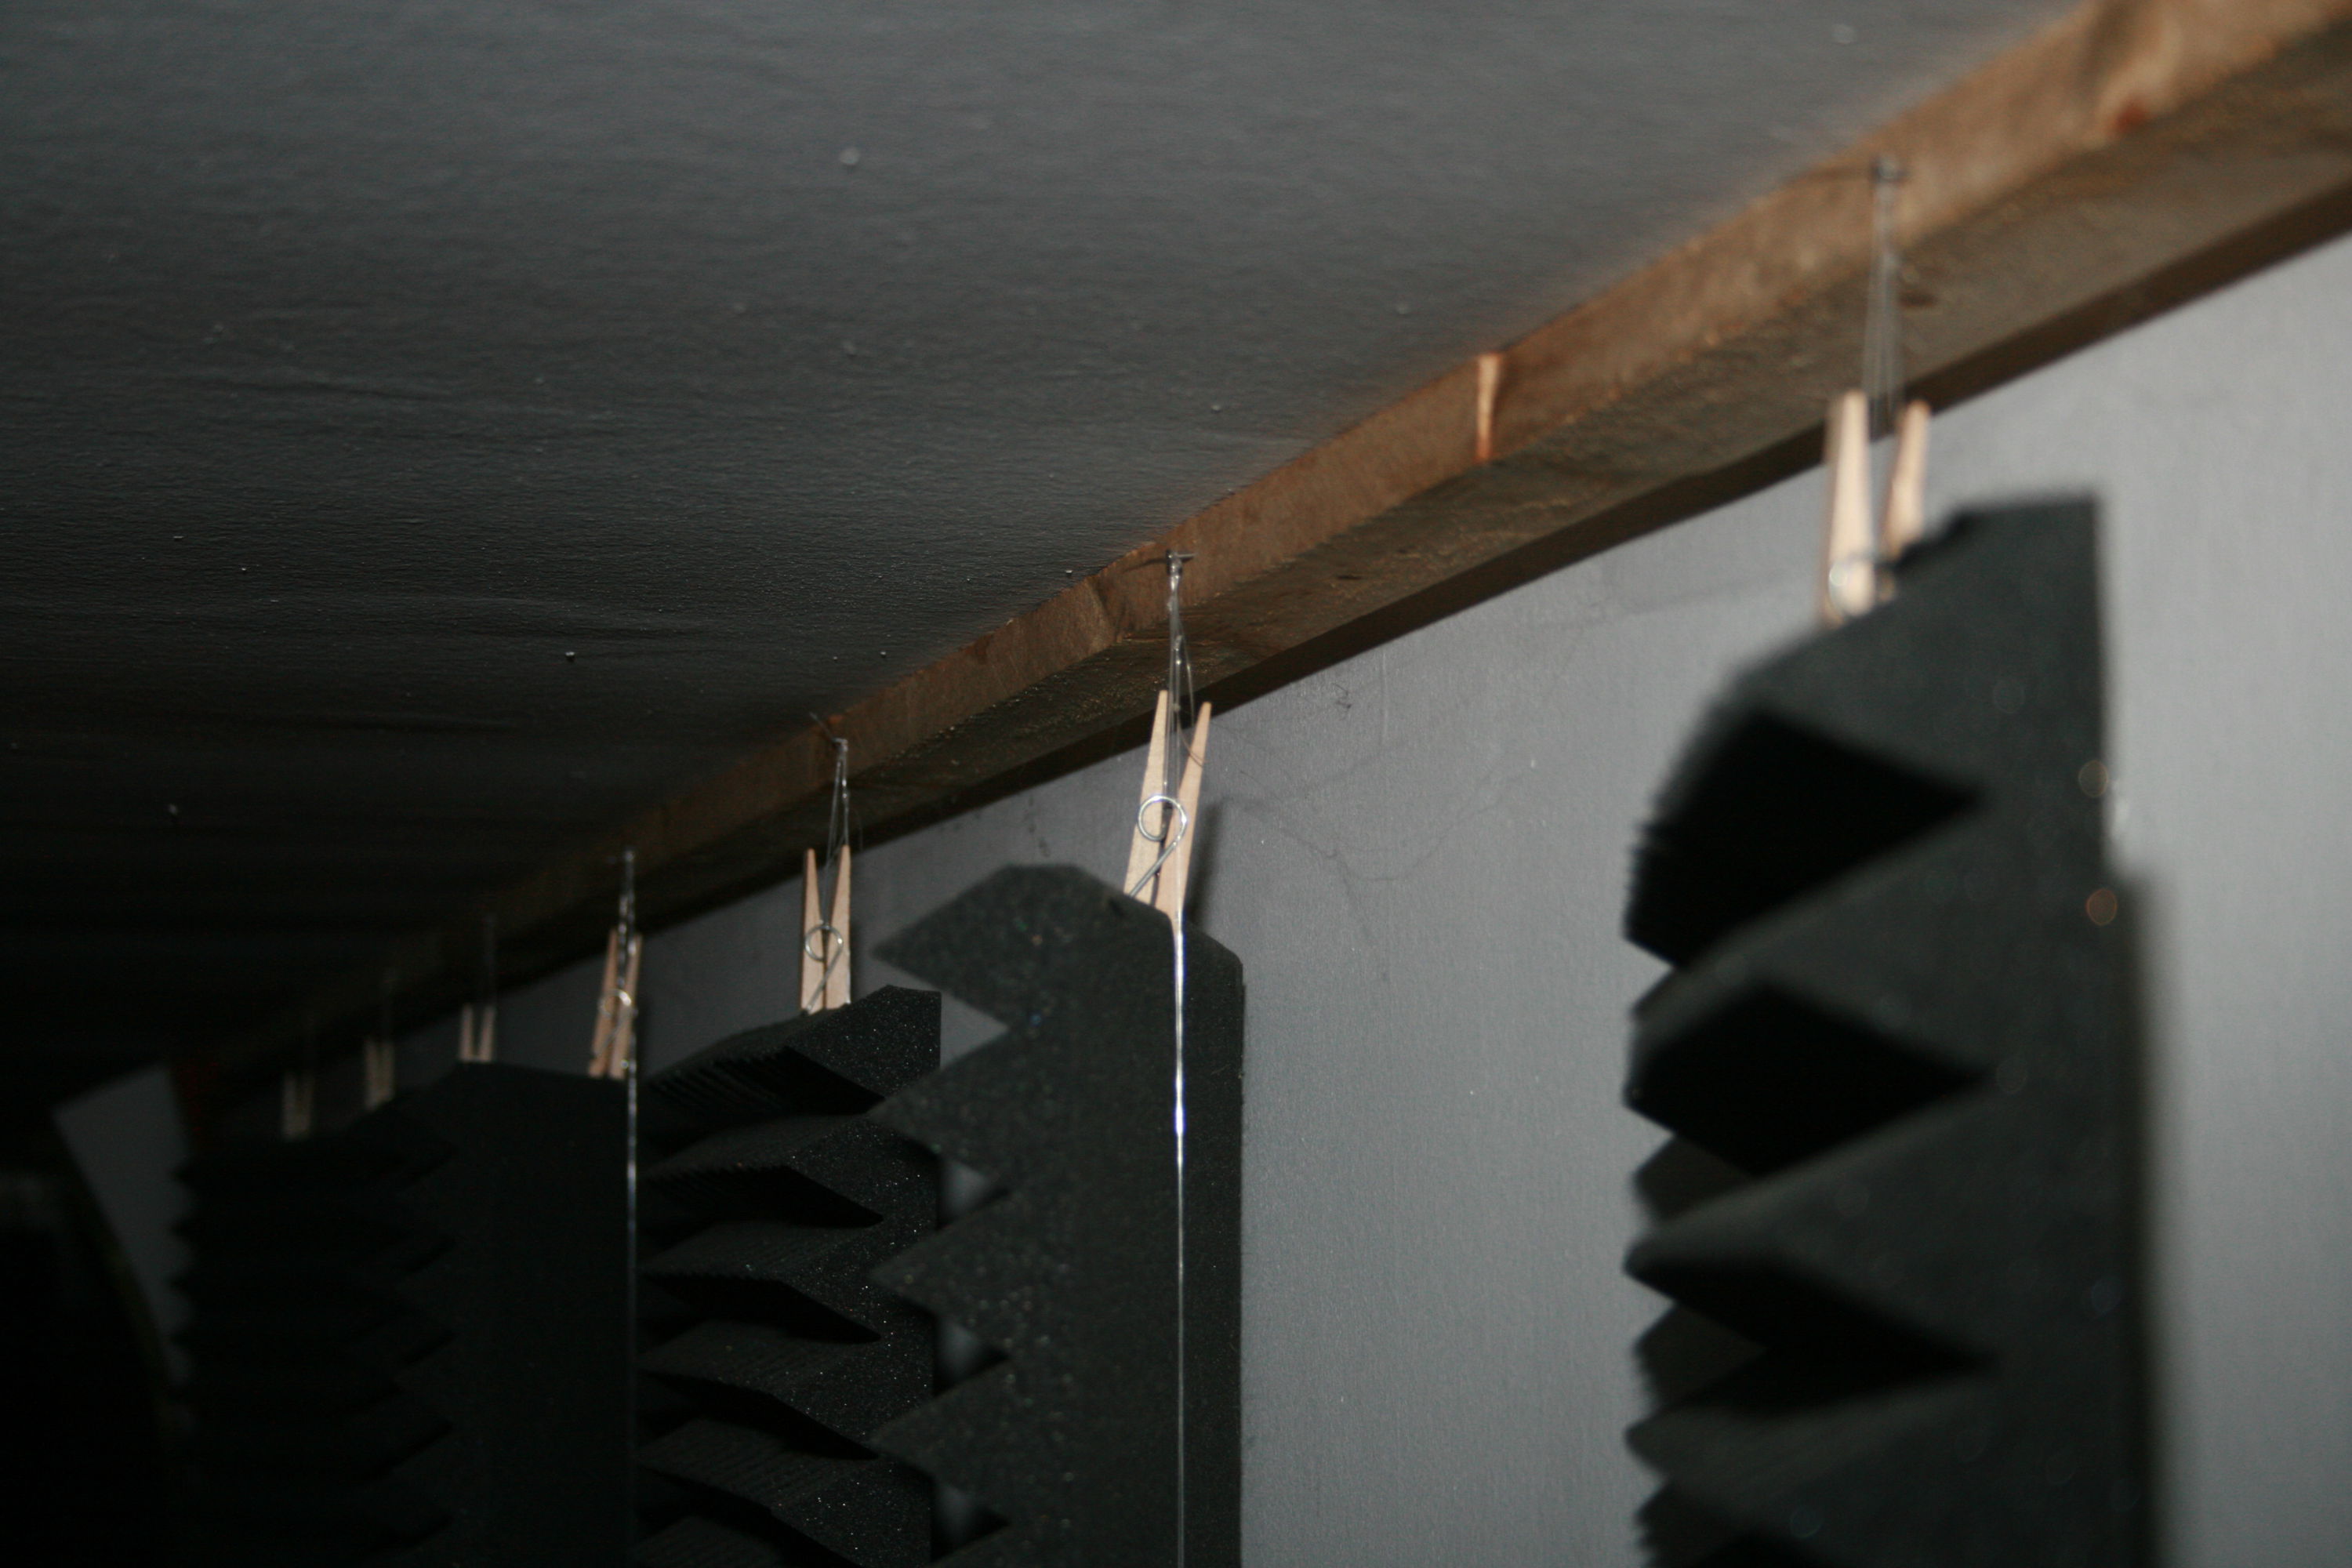
Battens mounted to the ceiling will carry all the tiles.
Knock in nails in a distance according to the tile width.
A small distance to the wall makes it look a little bit less gross.
Now knot a peg to a piece of fishing line per tile.
I recommend a bowline knot on each side (one going somewhere through the peg, the other one to be hung to the nail).
Of course, the length of the fishing lines should match the final position of the tiles.
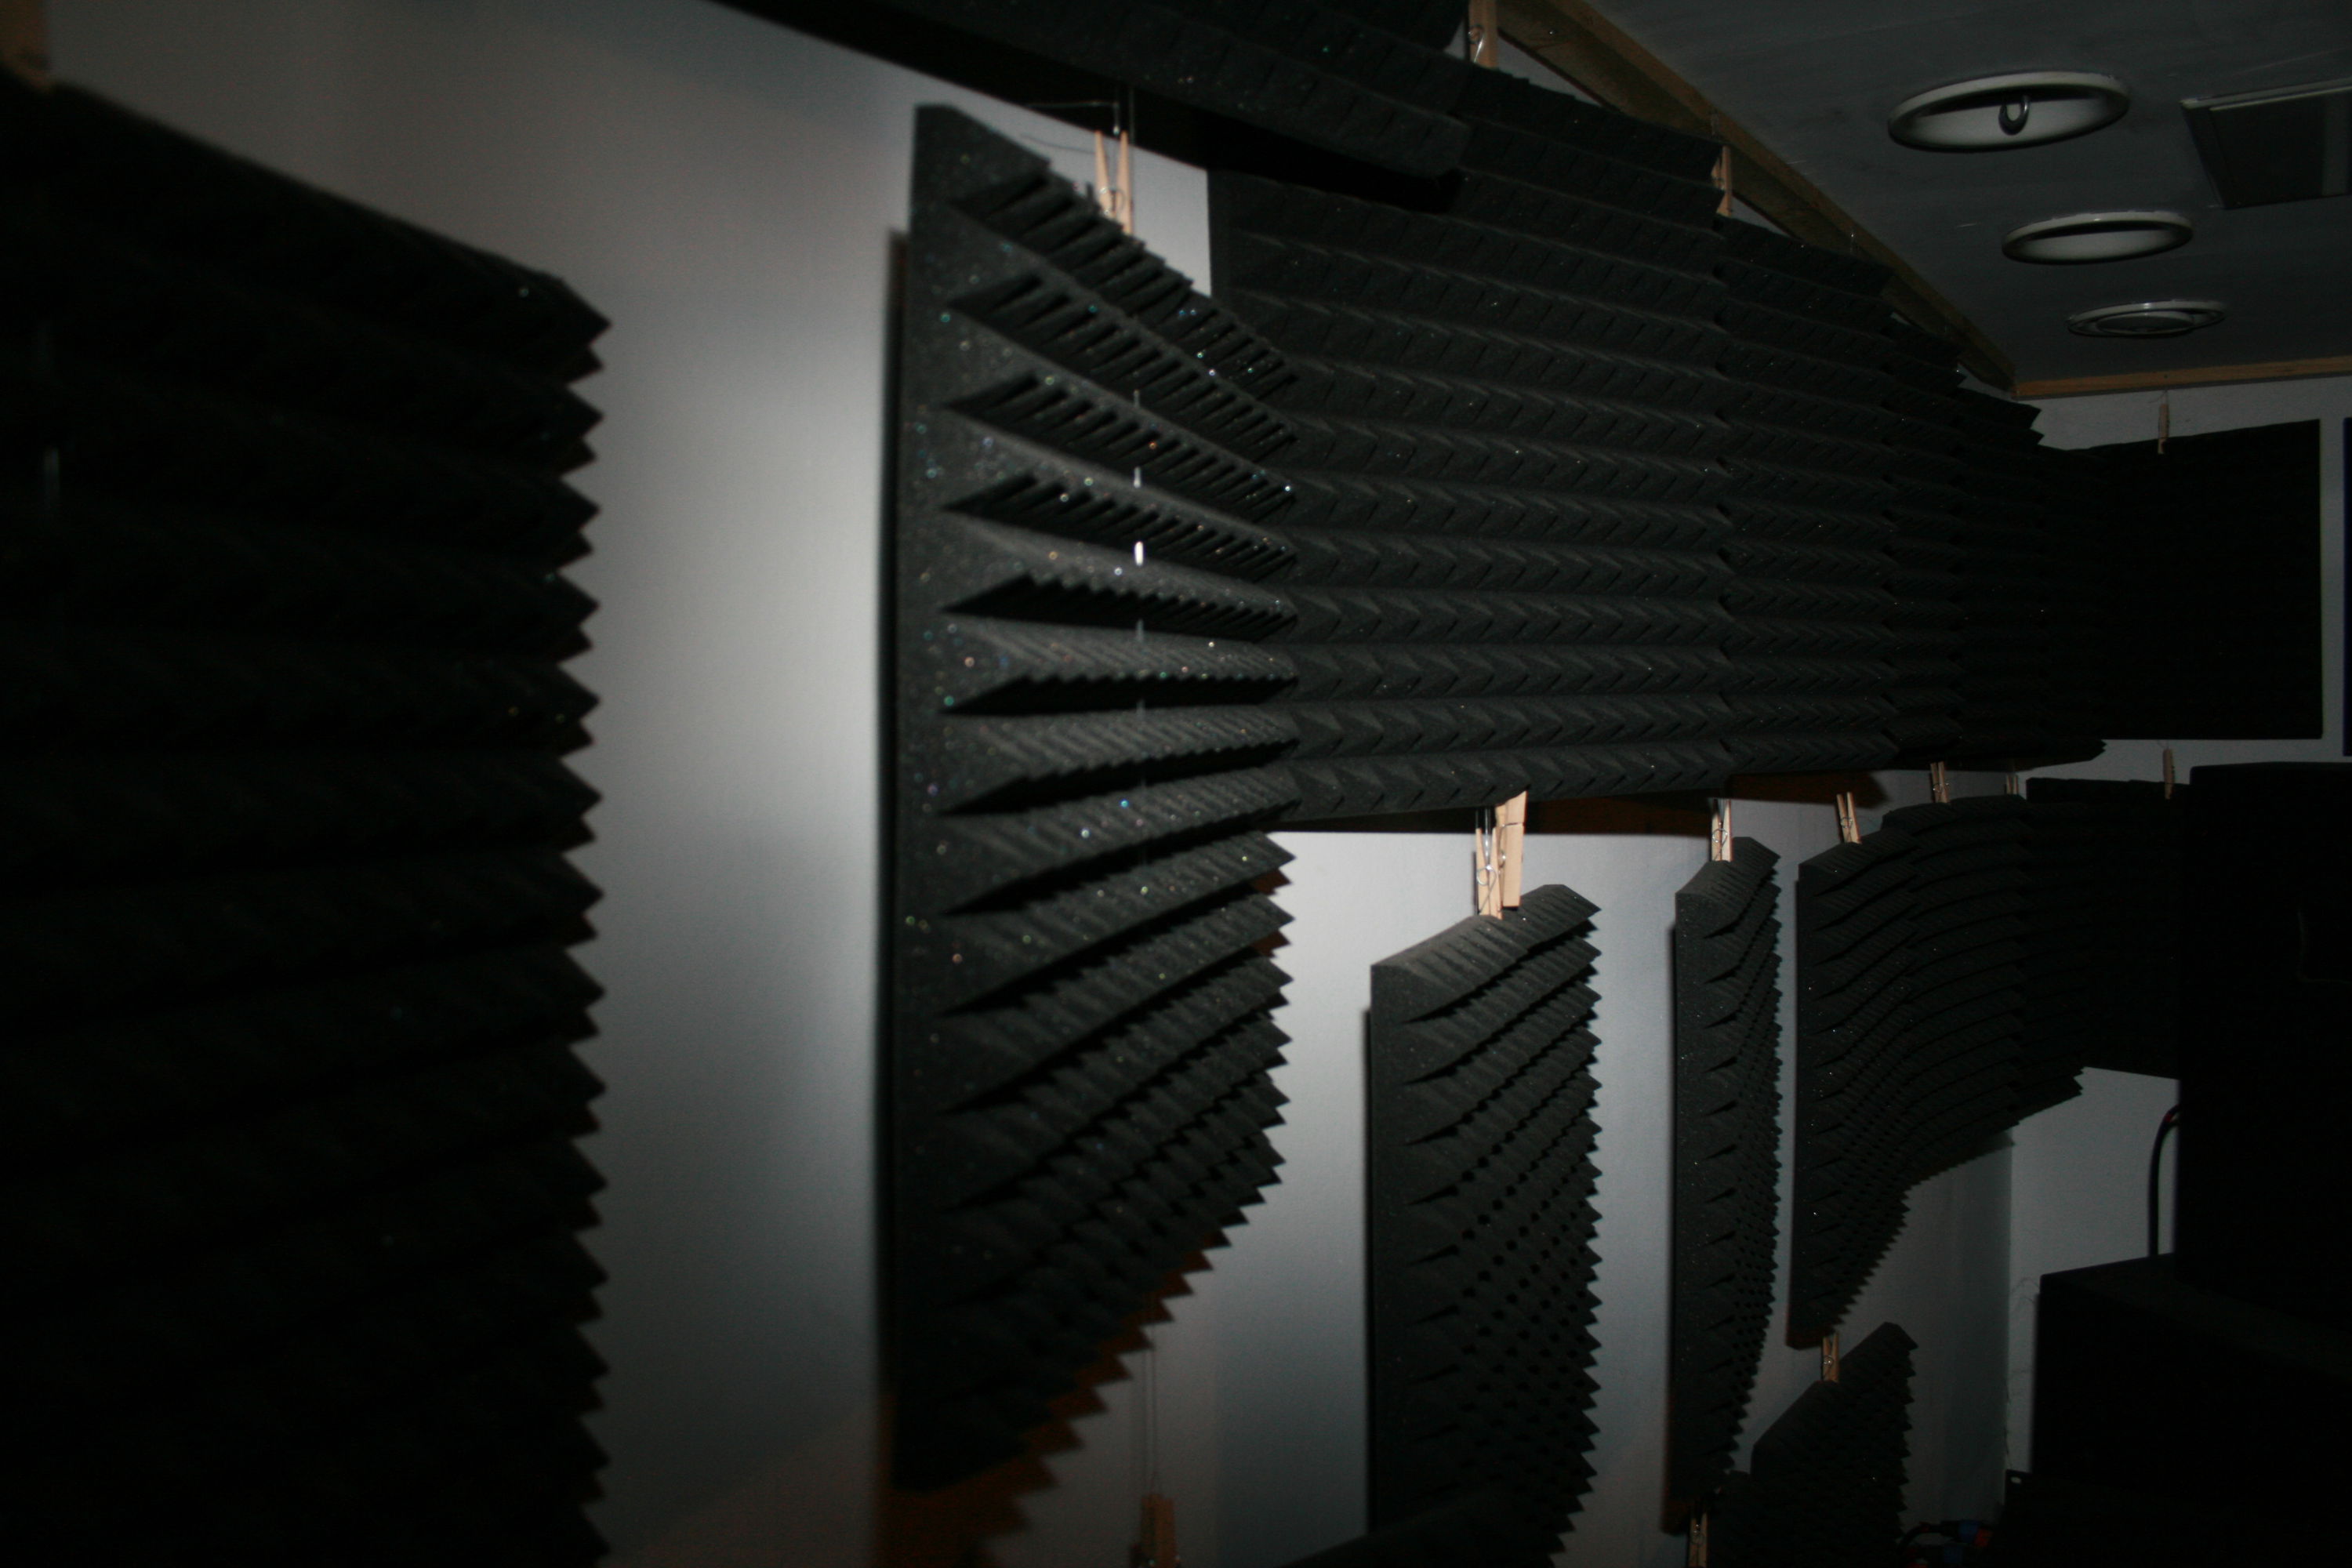
An this is how it looks like.
The irregular rotation is in no way disadvantageous for our intention (rather beneficial, if anything).
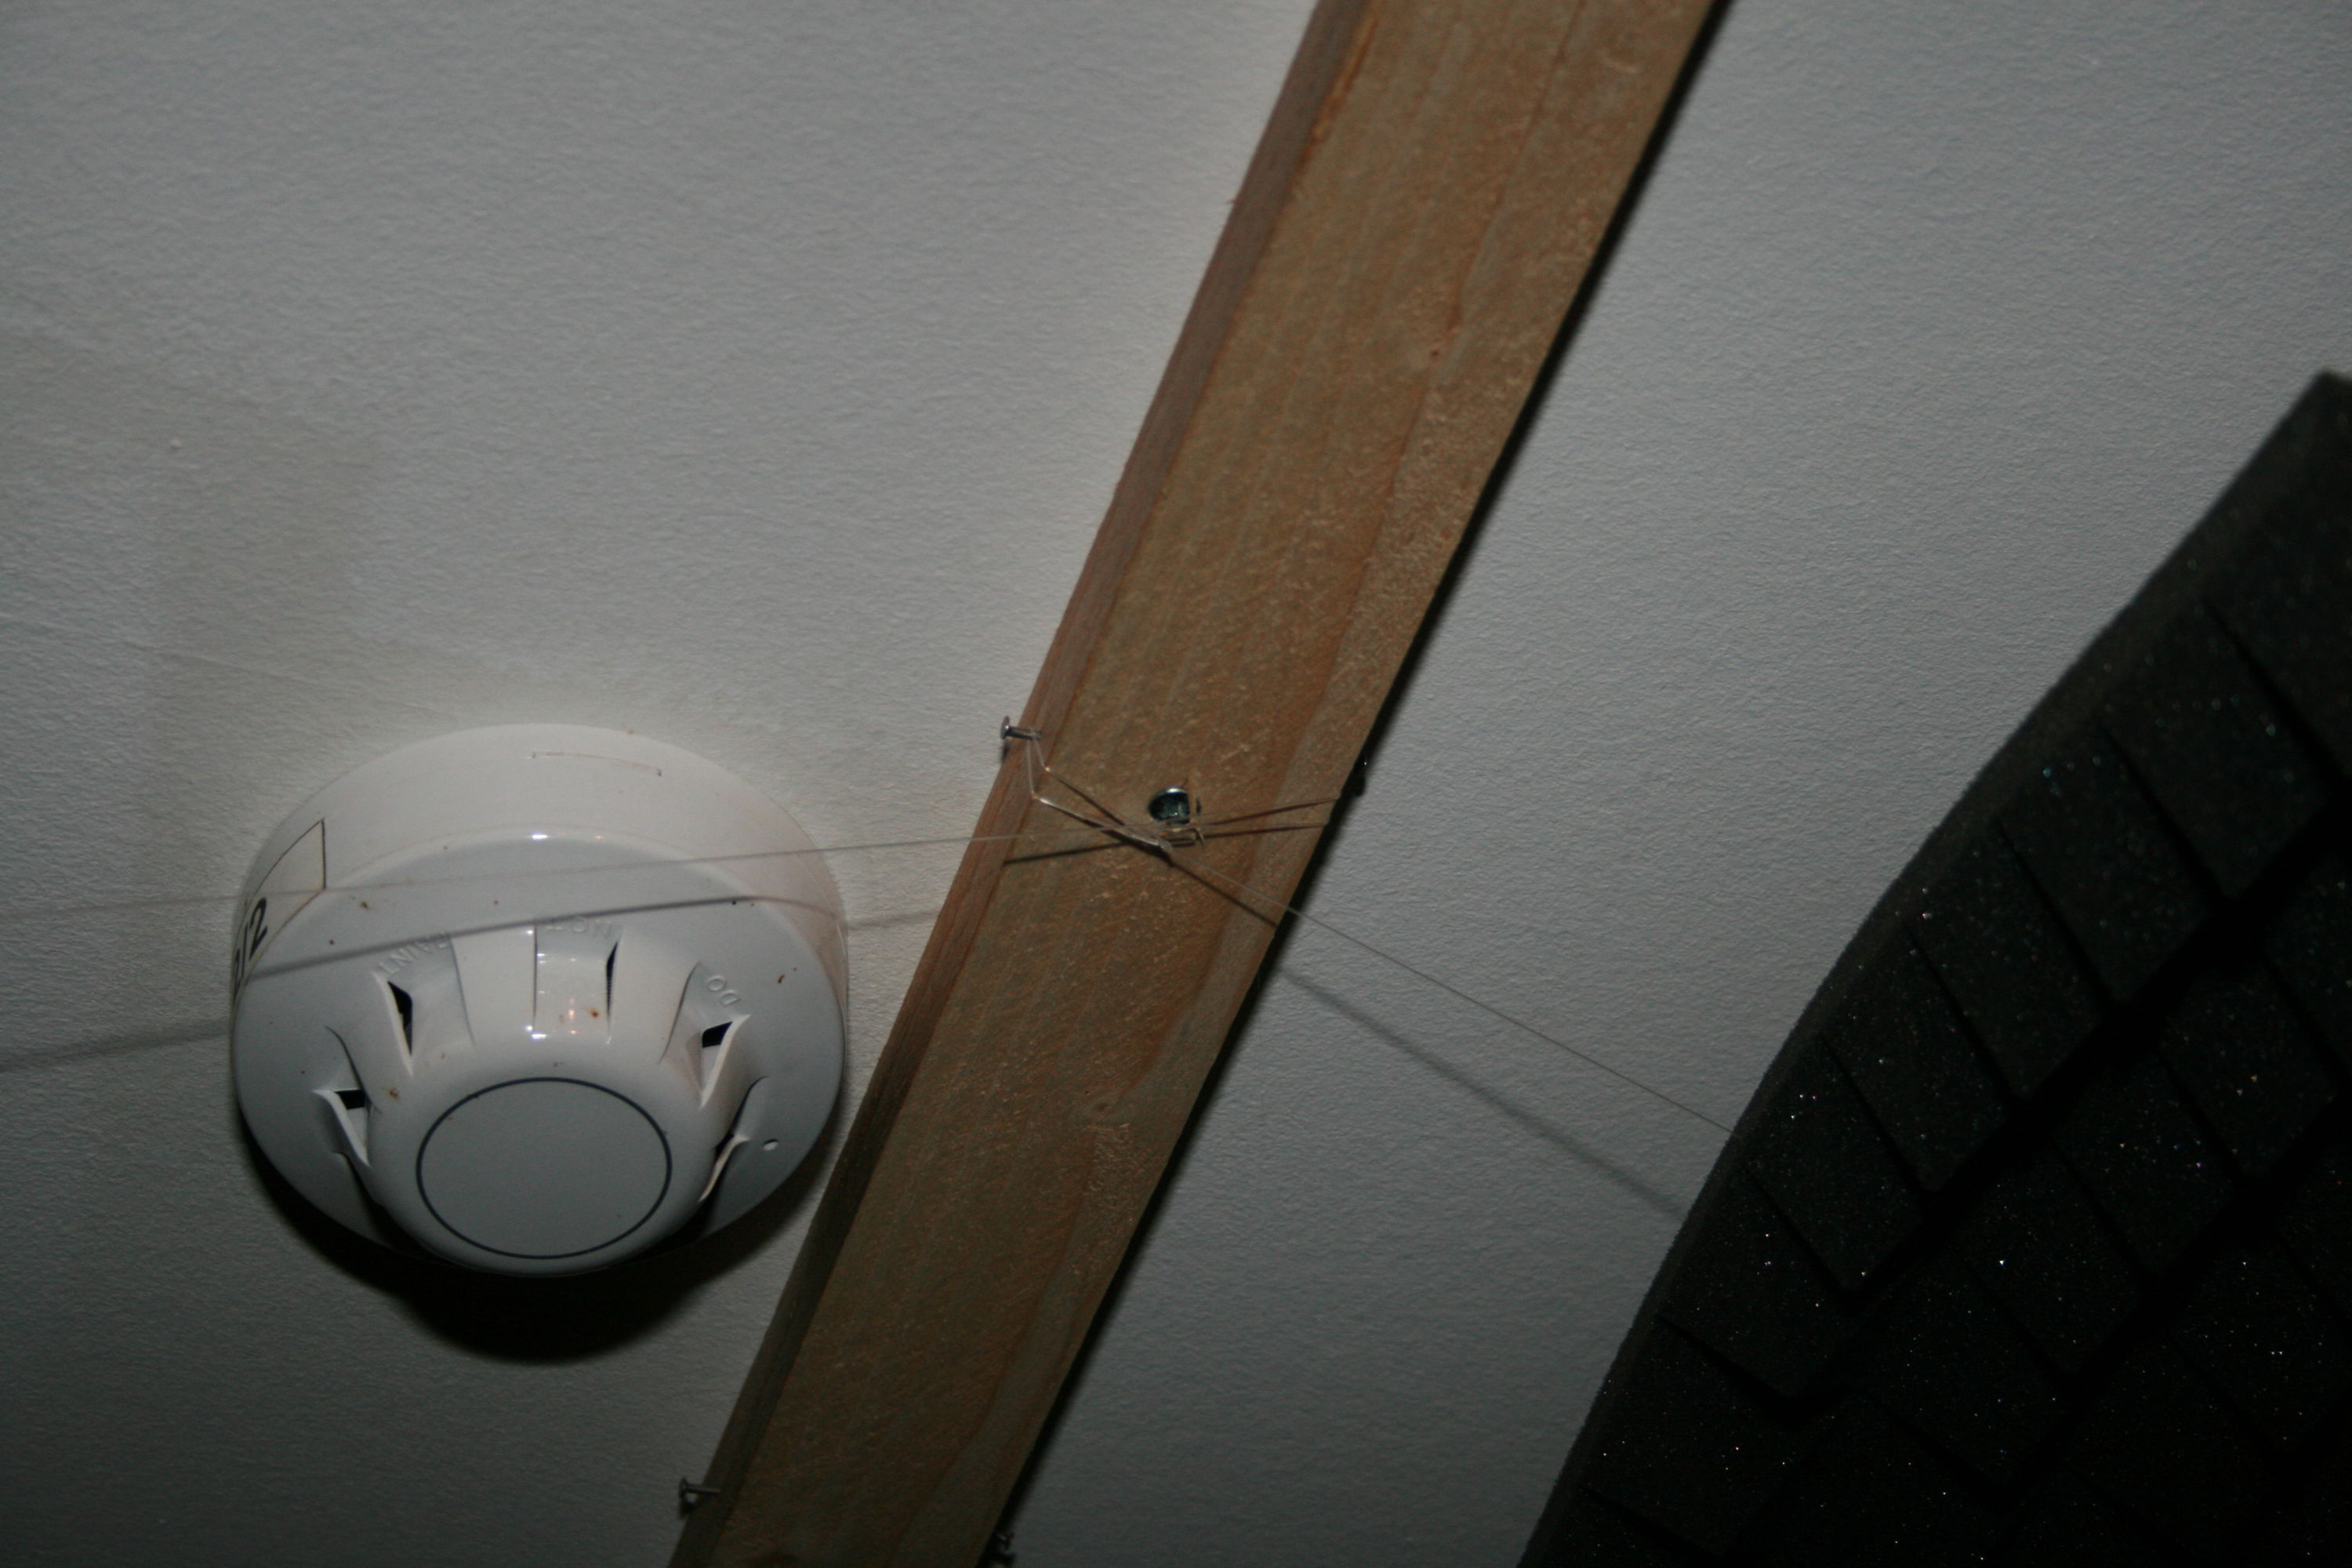
For very loud spots, it is also possible to mount some tiles to the ceiling.
While this is not exactly as flexible as the wall mounting, there is at least no peg required!
Just again mount some battens with nails and strain some fishing lines close to the ceiling where you can put some tiles upon.